
Recording Payments
Recording a payment is how you tell Campflow that money was received from a family. You can record payments from a family’s detail page or directly from the Income page.
How to Record a Payment
Section titled “How to Record a Payment”- Go to the Families page from the sidebar.
- Click on the family you want to record a payment for.
- Scroll down to the Payments section.
- Click New Payment.
- Enter the Payment Amount.
- Set the Payment Date (defaults to today).
- Choose a Payment Status:
- Accepted — The payment has been received and confirmed.
- Pending — You are waiting for it to clear (common for checks and ACH).
- Promised — The family said they will pay but the money has not arrived yet.
- Select a Payment method from the list of methods your camp accepts.
- Click Save.
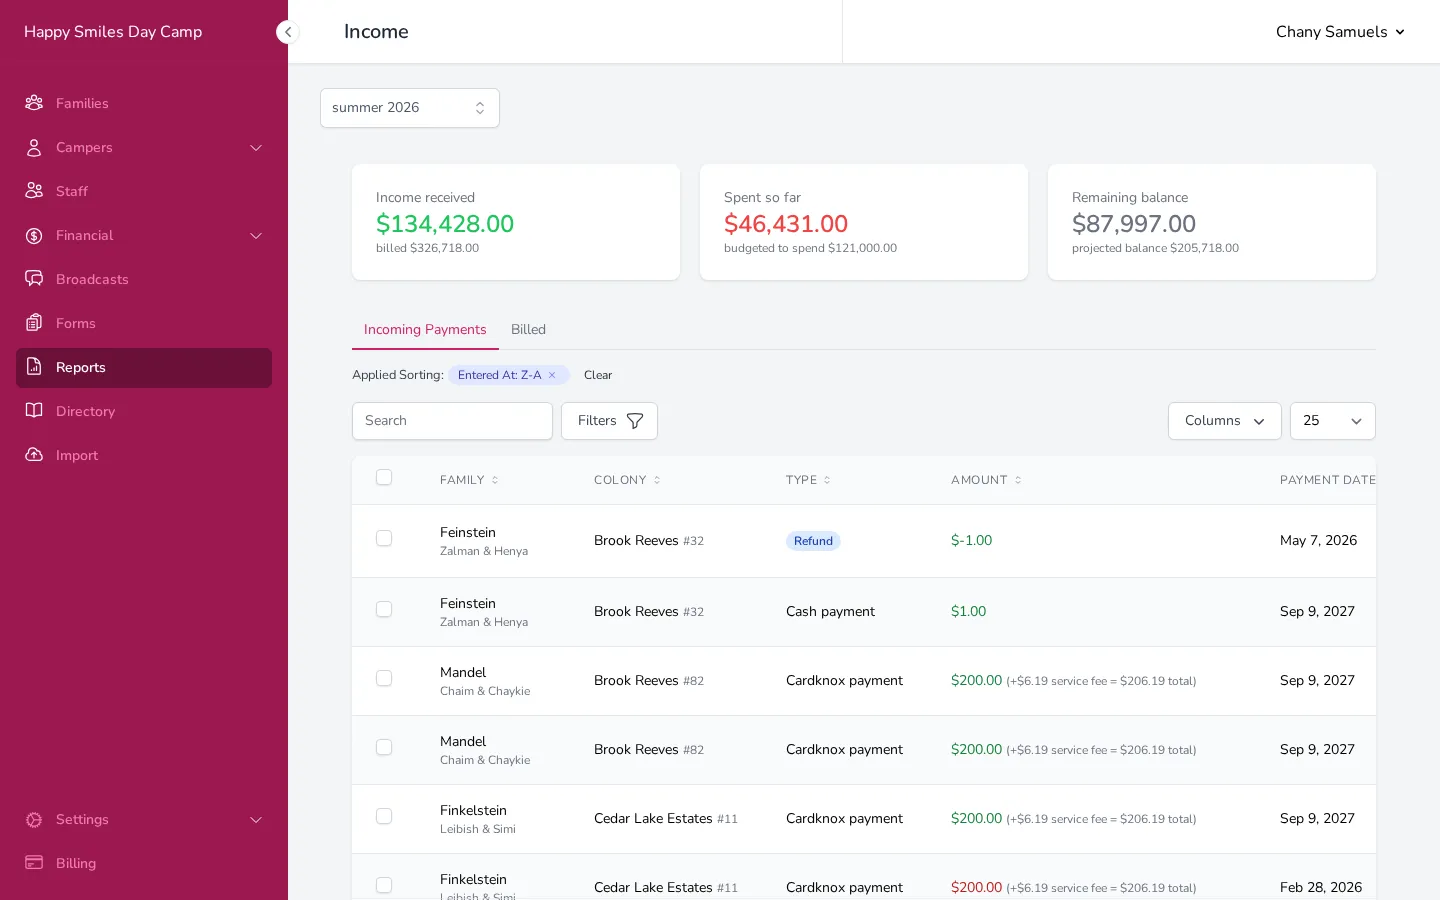
We will automatically update the family’s balance. If the status is Accepted and you left the Send receipt option on, we will also email a receipt to the family.
What Happens for Each Payment Method
Section titled “What Happens for Each Payment Method”The payment form adjusts based on which method you choose:
Credit Card and ACH (Bank Account)
Section titled “Credit Card and ACH (Bank Account)”For online payment methods, Campflow will actually charge the card or bank account when you submit. Credit card payments are approved or declined instantly. ACH payments may take a few days to settle.
When recording these from the admin side, credit card payments default to Accepted since they resolve instantly. ACH payments default to Pending since they take time to clear.
When you select Check, additional fields appear:
- Check number — The number printed on the check.
- Check date — The date written on the check.
- Check images — If your camp requires it, you can upload photos of the front and back of the check. When you upload the front of the check, Campflow will attempt to read the dollar amount from the image and fill in the payment amount for you.
Zelle and Venmo
Section titled “Zelle and Venmo”When you select Zelle or Venmo, you may see:
- Transaction ID — The confirmation number from the transfer.
- Transaction screenshot — If your camp requires it, you can upload a screenshot of the completed transfer. When you upload a screenshot, Campflow will attempt to read the dollar amount from the image and fill in the payment amount for you.
Cash and Other
Section titled “Cash and Other”These are record-only methods — you are simply noting that money was received. No additional fields are required beyond the amount and date.
Payments Submitted by Parents
Section titled “Payments Submitted by Parents”You do not always need to record payments yourself. Parents can submit payments on their own — through your registration form, through payment links, or both. By default, payment methods are visible to parents on both registration and payment links. You control where each method appears in your payment method settings.
Each payment method has a Show on row with two checkboxes:
- Registration — Parents can select this method and submit payment details on your registration form.
- Payment Links — Parents can select this method and submit payment details on a payment link you send them (from the Actions menu on the family detail page).
Both checkboxes are on by default when you add a new payment method. If you want a method to be admin-only — so parents never see it — uncheck both. You can also enable one and not the other if you want a method available on payment links but not during registration, or vice versa.
The parent experience depends on the payment method. Here is the typical workflow for each one:
Credit Card
Section titled “Credit Card”- The parent selects credit card as their payment method.
- They enter their card number, expiration date, and CVV directly on the form.
- When they submit, Campflow charges the card instantly through your payment processor.
- The payment appears on the family’s account as Accepted and reduces their balance immediately.
No action is needed from you — the money is processed automatically.
ACH (Bank Account)
Section titled “ACH (Bank Account)”- The parent selects ACH as their payment method.
- They enter their bank’s routing number, account number, and the account holder name.
- When they submit, Campflow initiates a bank transfer through your payment processor.
- The payment appears on the family’s account as Pending because ACH transfers take a few business days to clear.
- Once the bank confirms the transfer, the status updates automatically to Accepted (or Failed if it was returned).
No action is needed from you — the status updates automatically.
- The parent selects Zelle as their payment method.
- The form shows your camp’s Zelle email or phone number (the one you entered in your payment method settings) so the parent knows where to send money.
- The parent opens their Zelle app, sends the payment to your camp, and comes back to the form.
- If you require it, they enter the Zelle transaction ID and/or upload a screenshot of the completed transfer.
- When they submit, Campflow records the payment on the family’s account with the Default Status you configured for this method.
The money arrives in your bank account through Zelle — Campflow does not move it. What Campflow does is log the payment so it appears on the family’s account. If you set the default status to Promised or Pending, you can verify that the Zelle transfer actually arrived before changing the status to Accepted.
- The parent selects Venmo as their payment method.
- The form shows your camp’s Venmo handle (and optionally your email or phone) so the parent knows where to send money.
- The parent opens Venmo, sends the payment, and comes back to the form.
- If you require it, they enter a transaction ID and/or upload a screenshot.
- When they submit, Campflow records the payment on the family’s account with the Default Status you configured.
Like Zelle, the money moves through Venmo — not through Campflow. Campflow logs the payment so you can track it.
- The parent selects check as their payment method.
- The form shows who to make the check payable to and where to mail it (if you entered this in your payment method settings).
- The parent enters the check number.
- If you require it, they upload a photo of the front (and optionally back) of the check. Campflow will attempt to read the dollar amount from the image and fill it in automatically.
- When they submit, Campflow records the payment on the family’s account with the Default Status you configured.
The check still needs to arrive by mail and clear your bank. If you set the default status to Pending or Promised, the payment will not count toward the family’s balance until you update it to Accepted after the check clears.
Cash is typically an admin-only method since parents cannot submit cash through a form. If you do enable cash on registration or payment links, it works as a record-only entry — the parent enters the amount and Campflow logs it, but no money moves through the system and no proof of payment is collected.
Reviewing Parent-Submitted Payments
Section titled “Reviewing Parent-Submitted Payments”For Zelle, Venmo, and check payments submitted by parents, the money moves outside of Campflow. Parents are recording proof that they sent you money — not moving money through the system. This means there is a window between when a parent says they paid and when you can confirm the money actually arrived.
To manage this, use the Default Status setting on each payment method:
- Accepted — The payment counts toward the family’s balance immediately. Use this if you trust that parents are sending payments as reported and do not need to verify each one.
- Pending — The payment is logged but does not affect the balance. Use this if you want to check that the money arrived before crediting the family.
- Promised — The payment is logged as an intention to pay. Use this if you want to verify both that the payment was sent and that it cleared.
You can change a payment’s status at any time from the family’s detail page or from the payment table.
Importing a Payment from Cardknox / Sola
Section titled “Importing a Payment from Cardknox / Sola”If a payment was processed through Cardknox / Sola outside of Campflow — for example, through a physical terminal or the Sola portal — you can import it so it appears on the family’s account with the correct transaction details. This does not charge the card again — it simply records the existing transaction.
- Go to the family’s detail page.
- Click New Payment.
- At the top of the payment form, click Have a Cardknox transaction to import?
- Enter the Confirmation Number from the Cardknox / Sola transaction.
- Click Look Up.
- Review the transaction details — Campflow shows the name on account, date, payment method (credit card or ACH), amount charged, processing fees, and net payment amount.
- Click Import Payment.
The payment is added to the family’s account as Accepted and the balance updates immediately. Campflow automatically detects whether the transaction was a credit card or ACH payment and applies the correct processing fees based on your payment method settings.
Editing a Payment
Section titled “Editing a Payment”You can edit payments that were not processed through the online payment processor. Online credit card and ACH payments cannot be edited — you would need to issue a refund and create a new payment instead.
- Open the family’s detail page.
- Find the payment in the Payments section.
- Click the edit icon on the payment row.
- Make your changes (amount, date, status, method, notes).
- Click Save.
Adding a Note
Section titled “Adding a Note”Every payment has an optional Note field. Use it to record context that might be helpful later — for example, “Paid at the office” or “Covers first two months.” Notes are visible in the payment table and on the family’s detail page.
Good to Know
Section titled “Good to Know”- Every payment shows Posted by with the name of the staff member who recorded it — both on the family’s Financial tab and in the payment table. This is blank when no staff member recorded the payment, which is expected for online payments parents made themselves, Autopay charges, and payments brought in through an import.
- Only Accepted payments reduce the family’s balance. If you record a payment as Pending or Promised, the balance will not change until you update the status to Accepted.
- Campflow automatically sends a receipt email when a payment is recorded as Accepted (you can turn this off for individual payments by unchecking Send receipt before saving).
- If a family does not have an invoice yet for the current season, Campflow creates one automatically when you record their first payment.
- You can update multiple payments at once using the payment table’s bulk edit feature — select payments and use the Edit action to change their status or date in one step.
- When a payment method charges a processing fee, you will see a fee preview before saving. The fee is added on top of the payment amount.
- When you upload a check photo or transaction screenshot, Campflow reads the amount from the image and fills it in automatically. You can always change the amount before saving. If the amount you enter does not match what Campflow detected, a warning will appear so you can double-check. This also appears when reviewing payments — if there is a mismatch, the payment row and the Accept Payment dialog will flag it. All of this is advisory — it never blocks you from saving.
- If the uploaded image does not look like a check or a payment transfer at all, Campflow will warn you that it may not be a payment image. And when the amount is hard to read, the detected amount is shown with a (not certain) note so you know to double-check it yourself.
- Amount reading works on photos, screenshots, and PDF files (JPG, PNG, HEIC, or PDF).
- To record a donation or pledge on a family’s account, add a charge (fee) on the family’s Financial tab for the donation amount, then record a matching payment against it. There isn’t a dedicated donations feature, but this approach keeps the ledger balanced and gives you a clear record of what was pledged and what was received.